Wednesday 19 December 2012

Finalised Samples

With Christmas rapidly approaching and university term now officially finished, I've been at home beavering away endeavouring to complete the main hand stitched samples.  There have been a few distractions to say the least, but fortunately I've managed to keep on top of the sewing and finished the main four samples and created a couple of Photoshop repeats and visualisations using my lovely Mary Quant 1970's Daisy Doll as the model!


Friday 7 December 2012

Orange

I think its really difficult to update my blog whilst I'm experimenting with ideas, as much of this process is recorded in my sketch book and difficult to repeat and reflect upon digitally.  So, in summary the project is progressing well, and as intended I've continued with my sinamay spheres and used them as a central point of my main sample.  I've also been playing with scale and created much smaller versions of the half spheres using different embroidery techniques as well as applying Canadian Smocking to some of the pieces, which creates great manipulated Elizabethan style fabrics.  Colour is distinctly orange so I do need to include some more yellows, reds and blues in the final samples.  I've included more screen prints than intended, and in particular I've used the screen to pre-print the fabric prior to smocking with pigments, and adhesive for flocking and foiling.  We've now reached the end of term and after this weeks crit I think some of my ideas may have been a little overworked and over the Christmas holiday I need to incorporate some simpler fabric designs into the overall collection.  Part of the process is to visualise the final fabrics using PhotoShop. Here I've taken a small hand stitched sample and repeated it into a pattern form to demonstrate what the piece would look like en masse.


Sunday 18 November 2012

Spiders from Mars


I've now just completed week three of our new Contemporary Textiles for Professional Practice project.  This time the assignment is defined by exterior parties and I have chosen the Hand and Lock Prize for Embroidery Design 2013 competition, inspired by 'The Past is the Future'.   For this I need to create hand stitched samples inspired by a juxtaposition of 1970s glam rock and Tudors.
 
Specifically I have decided to take inspiration from Ziggy Stardust and Elizabeth I.  I've been looking in detail at the design of Elizabeth's dresses how they were embroidered and embellished, all being hand made.  I've noticed that a lot of the clothes worn by her and others such as Henry VIII have lots of puffs on the surface, where fabric has been slit and another layer pulled through to make a puff. I'm trying to base my designs on this construction concept, and I've decided to continue my work and development of my sinamay spheres from the innovation project, as well as looking at Canadian and North American smocking to create puffs and surface texture of varying sizes.  
 
All of the samples must be hand stitched and I'm intending to screen print some of my fabrics to create additional depth and surface pattern.  My colour palette is derived from the Ziggy Stardust artwork, as well as my own 1970s Mary Quant Daisy Diary with lots of reds and oranges.  Finally I've tried to look at the lyrics from the songs go Ziggy Stardust as well as the visuals, although I have to say the words don't make a lot of sense, although based on my colour palette and initial stitch ideas I am immediately drawn to 'Spiders from Mars' which Mark thinks is a bit too obvious!


Tuesday 23 October 2012

Monday 22 October 2012

3D Fabrics

I've decided as part of my hand in for the Innovations project that I will include some fabric manipulation and stitched items.  So far I've concentrated on the 3D spheres made from siminay which has been screen printed, but I feel I have to be true to my own interests and include pieces that I would be happy to present, representing my preferred textile techniques.  I stitched together some little pillows from the 'The Art of Manipulating Fabric', which I found to be quite challenging ensuring that they were truly circular (and in some cases there are just not as round as I would have liked!).  Before I stuffed the pillows I decided to experiment with the shapes creating a very satisfactory, if very temporary, tower.  Once the pillows were stuffed, I tried out some further pebble arrangements to see how I could potentially use the pillows for possible future projects.  In all honesty I think I prefer the outcomes of the experiments than the final planned piece - I guess sometimes the journey is better than the end result!


Monday 15 October 2012

Spherical Innovations

Still experimenting with painted grounds and printed papers, trying out some of the more successful creations in the colour scheme of the brief.  I particularly like the segmented sphere below, each 'slice' of the sphere is created from three folded circles of paper and then joined together.  I've also been using Sinamay as my unusual material, which is a woven stiff fabric used to make hats, which takes pigment print and folds well.  I particularly like the transparency of the Sinamay and I hope to use it for both the panelled and segment spheres.  Some of the initial sphere experiments have not translated so well to fabrics and other papers, so I think I'll be sticking to the two types pictured below.


Sunday 14 October 2012

Innovation for Textiles Practice

Back at Uni and two weeks into the first assignment which is a quick four week project entitled Geometrics - Stripe, Circle, Square, Spot and Line.  The emphasis of the module is 3D items made from innovative materials; we have been tasked to become an alchemist and surface inventor of textiles!  I'm still concentrating on my summer inspiration in the main, incorporating images and ideas from my plug chain and shower head - using the repeating circle shapes and endeavouring to bring these into some type of 3D spherical design.  In my first year I did actually experiment quite a bit with 3D shapes in both my knitting and fabric manipulation, as well as using unusual and innovative materials such as metal split rings and curtain rings; so I really need to up my games even further for this assignment!.  I've kicked off looking at how is it possible to create 3D spheres using paper and card as my basic material, searching the Internet there are loads of instructions on how to make paper spherical shapes (most seem to be targeted at the American decoration and craft market) and not many of them appear to have been transformed into fabrics.  These are sample of my paper experiments:


Friday 28 September 2012

Household Geometrics

I've finished off the very un-inspirational summer project of Household Geometrics.  Having scoured the house looking for squares, circles, etc etc.  Its been very difficult to get enthused by such a dull subject, sketching taps and plug holes and kitchen utensils!  I found myself homing in on circles, spheres and rounds once again, this time in particular inspired by the bathroom shower head, loads of repeating patterns of circles within circles; and secondly by an installation on the South Bank of kitchen sieves by the Korean artist Choi Jeong Hwa.   The sieves in particular got me looking at stacked semi circles and repeating piles of half circle shapes.  Trying to meet one of the tutors recommendations I've also tried to get messy by stencilling and stamping (made at home from parcel packaging foam stuff) these patterns and shapes on paper and fabrics, as well as more trying Shibori.  I've also been looking at fabric construction ideas and this time playing around with Suffolk Puffs (or YoYos) having found a little plastic 'YoYo maker' tool to make them that gets a great result every time.  I've used the puffs to create masses of puffs overlapping, like the sieve installation taking an individual piece any by repeating that shape to create a new patterns and shapes.


Wednesday 18 July 2012

Not quite so serious

Still being a little creative over the summer holidays (and using some of my newly learnt knitting techniques from my first year at Uni).  This is Loopy the Sheep made with love for Ellis, to add to her ever growing pile of soft toys and animals xx.

Pattern from Amanda Berry at


Thursday 21 June 2012

Shibori Dyeing

Here are the results at my first attempt at Shibori dyeing. These samples were all stitched to create a resist to the dye, by using different techniques the dye cannot penetrate the compressed fabric areas, thus creating the patterns. These were dyed using Turquoise MX cold water dye at 2%, the fabric used was fine lightweight white cotton.

These little circles were created using a simple BINDING technique to create rings of undyed fabric using small beads to create the circular repeating shapes. The bead positions were marked onto the fabric prior to binding. 
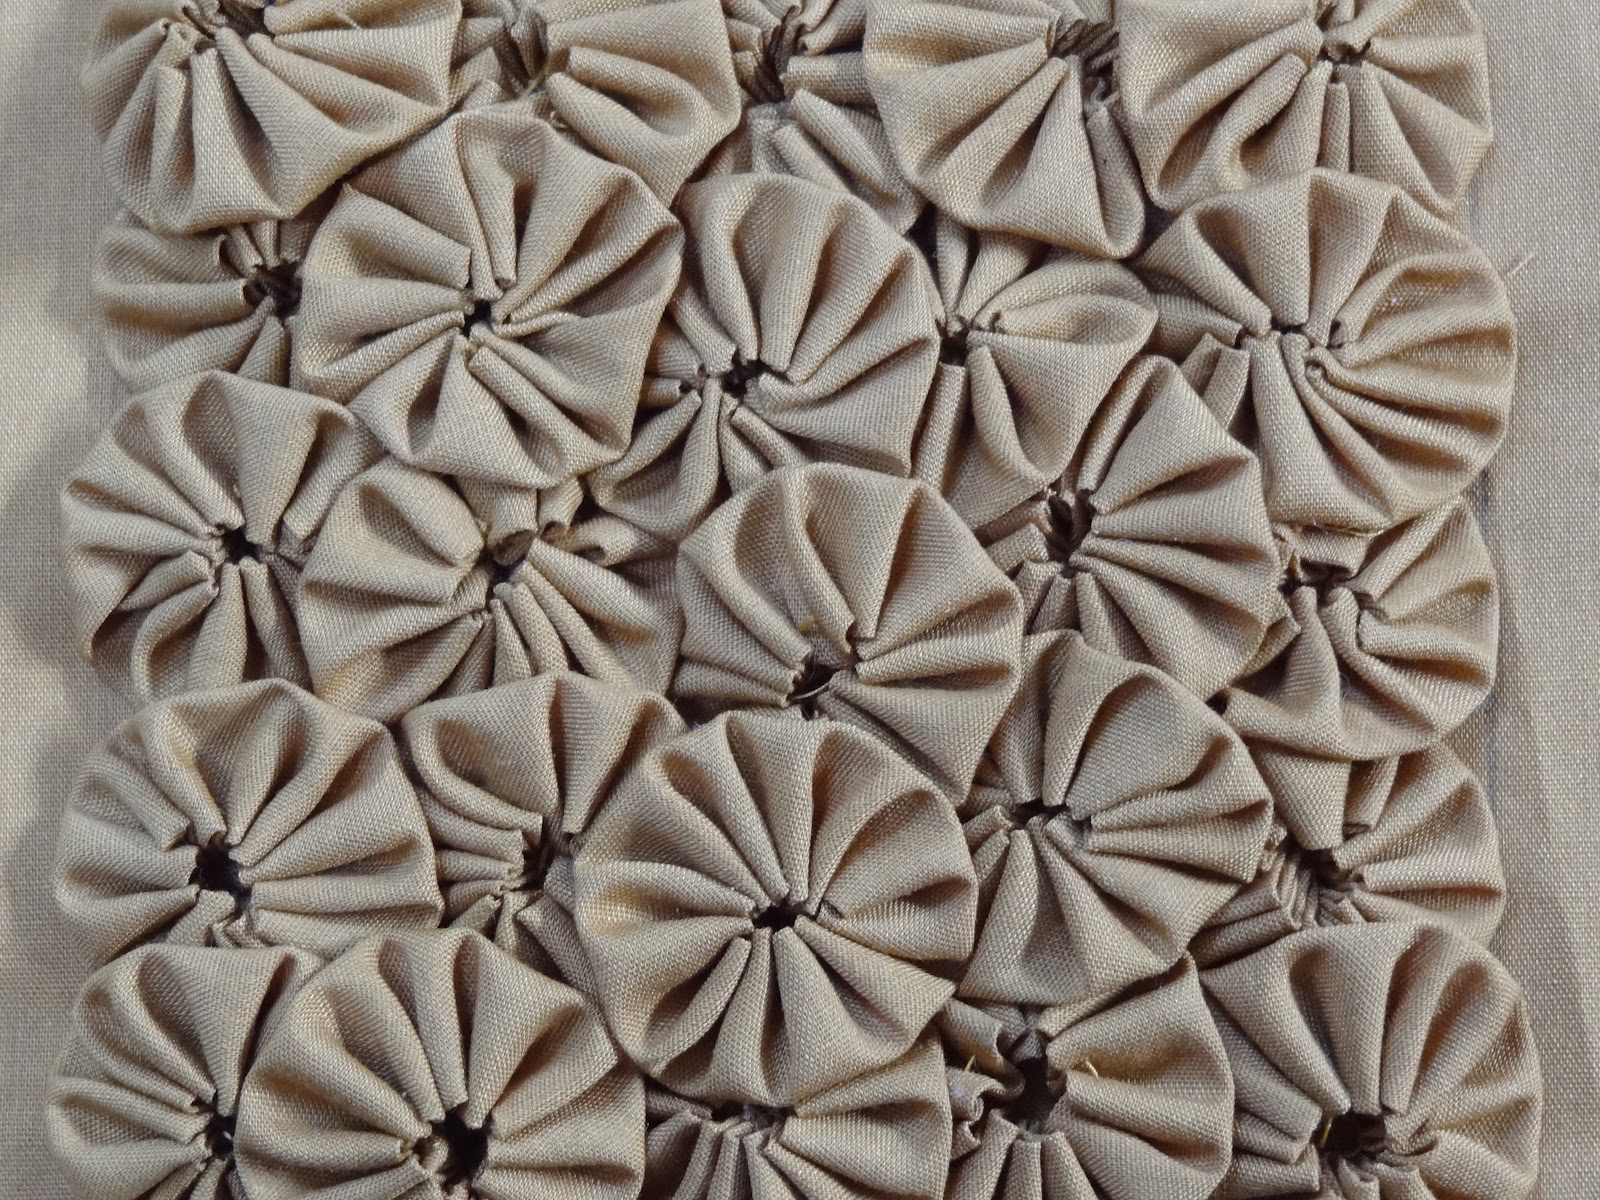
This is another method of binding called SPIDERWEB.  This is created by making a pinched umbrella like bunch of fabric and the thread resist is wound up and down the fabric bunch, here shown close up and as a group, I didn't like the inconsistency of the resist and dye dispersal.

Here are some stitched samples, for these the fabric is stitched and then gathered to create the resist.  This is the least successful sample created using a technique called MOKUME where the fabric sewn in running stitch and pulled tight like a concertina. Dye penetrated the compressed areas more than it should have done.
More successfully, this Shibori method is called ORI NUI where wavy lines are drawn, folded and stitched along the fold line to create two rows of dots.
 My final sample is my favourite so far (and I think the simplest) and is called KARAMATSU or Japanese Larch.  In this case the fabric is folded and concentric half circles are drawn on the fold  and then stitched with running stitch and drawn up tight to create the resist.
I found all of these methods in 'Shibori Designs and Techniques' by Mandy Southan.

Tuesday 12 June 2012

Knitting with fabric strips

Now that I am on my very long summer hols, and I feel that I have had a bit of a rest; I've now started working my way through some of the ideas that I came across during term time, but didn't get around to trying them out.  This is a large square of old printed furnishing fabric cut on the bias to create a very long 3cm wide strip which I then knitted in garter stitch (every row knit) using 15mm (pretty fat) needles.  I've no idea what you would do with this, as the strip is far from perfect with extra rough ends where the fabric was cut on the turn, and creates random tufts in the knit, but its pretty self supporting and almost sculptural in its nature.

Monday 11 June 2012

Crochet Spheres

Having hand knitted spheres for my uni projects this year, I thought I'd try to experiment with crochet.  I found this simple pattern at http://www.kundhi.com/blog/2010/10/11/tiny-crochet-ball-pattern/.  Although they worked out quite well, I found the number of rounds less easy to count than in knitting and I kept losing my place in the pattern.  Here are some of the better samples which look a bit like ice cream scoops.  I think that the crochet is less flexible than knitting as there are less stitch choices, so I think I may revert back to the knitting!

Monday 28 May 2012

Batik

Whilst I has at Highcliffe School I had a chance to experiment with melted wax and tjantings to create batik samples.  These were drawn with wax and then dyed with MX cold water dye in magenta.  Although I used fine lawn, I think you may need to use more wax to get a better resist, and its certainly a method that needs some practise, although by its nature will never be perfect. 
Getting the wax off was more of a challenge, these were initially ironed between a sandwich of brown paper, which seemed to melt and spread the wax and made the fabric stiffer.  I then poured boiling water over them which removed more wax but killed the grass beneath!  Once dried I was then left with a very thin layer of wax residue on the fabric, which I then ironed again in a brown paper sandwich, which removed most of it.
I quite like the method, but not sure sufficiently keen to invest in the tools required!  I think I'm going to return to the shibori stitched resist method for comparison.

Sunday 13 May 2012

School Placement

I'm now about to start my final week at Highcliffe School for my work placement.  Not much update on the textile work front as I'm pretty busy experiencing what its like to work in a senior school!  This a small sample of Shibori resist that I created to demonstrate  to the GCSE group, various knitting techniques that I have used as part of my course.

Monday 23 April 2012

End of Term

Hand in for this term is Wednesday.   I've finished ahead of schedule, all work finished, printed, mounted and self assessment written.  Quite glad to see the back of it all really for this year and looking forward to doing some work of my own during the extended summer holidays!

Friday 20 April 2012

So here we are, my final sample of little biscuits: tone on tone fabric bonded pieces as well as simple stitches have been used to embellish the small squares of fabric prior to sewing, manipulating and stuffing.

Friday 30 March 2012

Match Samples

Over the last couple of days I've been dyeing and sewing samples based on my match book theme.  I'm still undecided as to whether to pursue the simple match shape with single straight lines and stitches or base my designs on the match books and boxes themselves, more square in design and potentially more scope for 3D.  Need to make a decision as although we are formally on Easter Holidays, there's not that much time left before we hand all the samples for this term in, so I'm trying to at least nail down the final design.  Current favourite are my little pillows, these are intended to  resemble a very large scale match heads, and are approximately 10cm square, so I am currently considering shades of blue and green merging horizontally into each other made up with slightly smaller 8cm squares.